by Finchcocks host Jasmine Coomber.
After hosting a course on Healthy Technique with Penelope Roskell, we asked our course host Jaz to jot down some thoughts what she herself took away from the weekend! We hope it helps your practice.
1. Warm-Ups
In order to reduce tension and avoid injury, it is important to warm up the hands before playing. This includes external warming up, perhaps using a bowl of warm water, and internal warming up so that there is good blood circulation in the fingers. Penelope has devised a sequence of short exercises which are easy to fit in before you sit down at the piano. A few of the exercises are described below.
-
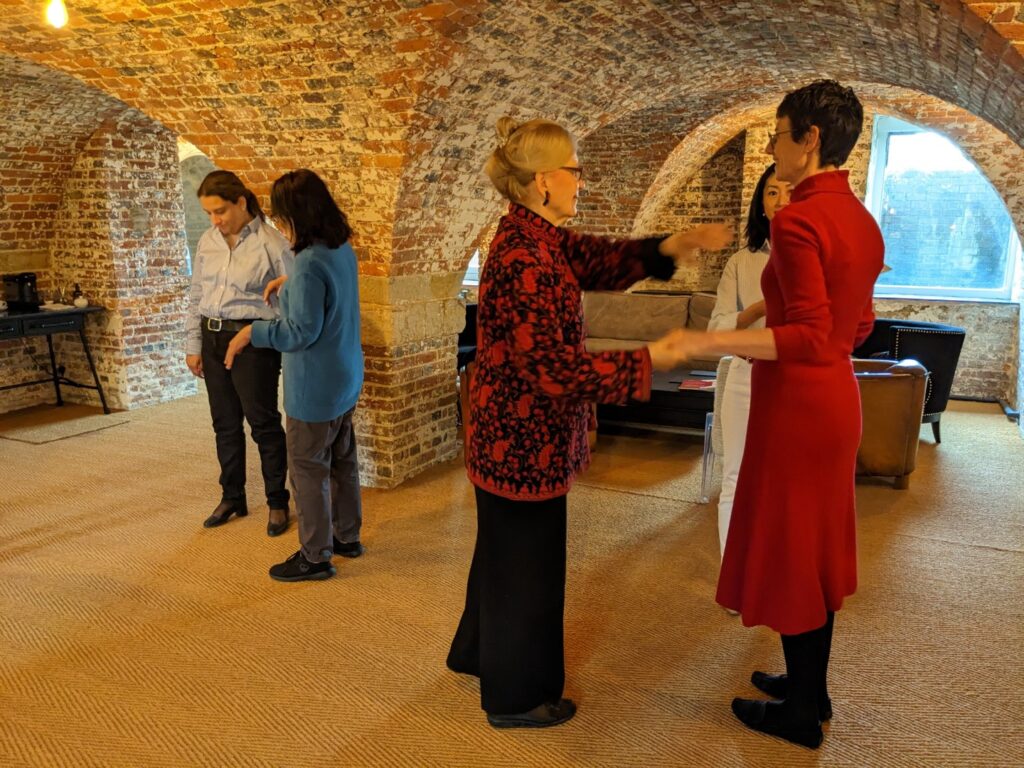
Starting by loosening the shoulder and allowing blood to flow down the arm: Swing the arms forwards and backwards like a pendulum, using the force of gravity to create the motion. The size of swing depends on how much energy you would like to put into the movement. If you are finding it difficult to release stiffness in the shoulders, ask someone to push your arms forwards in the swing so you can completely relax the muscles around the joint.
-
Then loosen the neck by dropping the chin to the chest and slowly moving the head from one shoulder to the other.
-
Find an opening in the chest by making large circles with the elbows. Start by touching your fingers to your shoulders, then move your elbows forwards, up and back down again, feeling the stretch across the chest.
-
Now, standing with your feet securely planted in the ground, rotate your upper body so your arms swing around you. Let the rotation propel the arms rather than controlling the movement yourself. Keep the neck free so the eye-line rotates with the body. Again, you can start with very small swings and slowly build up momentum rotating further around the body and allowing the feet to twist on the floor.
-
My favourite exercise involves standing completely still with your arms dropped to your sides. Imagine there is a tap on the crown of your head and feel the water flow down inside your arms. Take deep breaths and as you exhale, make the sound of the water gushing from your head to your fingertips. Then imagine the water dripping from your fourth and fifth fingers to the ground. By the fifth exhale, you will feel a weight and tingling in your fingertips from the increase in blood flow.
-
Finally waken the body again by shifting the weight from one foot to the other in small, soft steps. Bring this to a gentle jog if you wish, allowing the body to feel heavy and relaxed.
A full range of exercises can be found in Penelope’s book The Complete Pianist or on the Roskell Academy website.
2. Hand Position
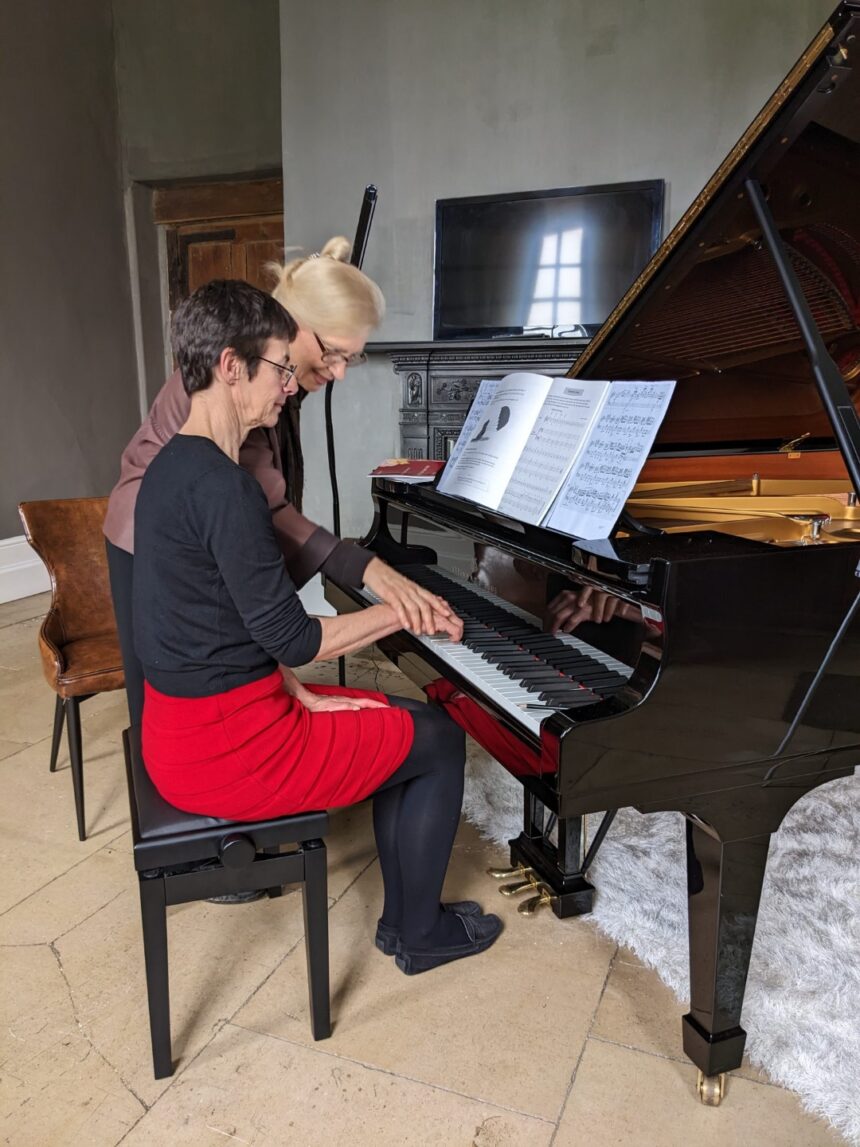
The most natural hand position can be found simply by letting your arm drop to your side and allowing your hand to relax. Keeping the hand and wrist in the same alignment, you can then lift your hand to the keyboard. In this shape, the fingers have a soft curve and the top of the hand is in line with the top of the forearm. Also notice the position of the thumb. Since everyone has different hand shapes, this neutral position will be unique to you.
Penelope demonstrates her hand position in this short video clip:
3. Arms and Elbows
The freedom of motion in the arms and shoulders, which we found in the warm ups, should carry forward to the keyboard. We need to be particularly aware of the elbows. If we move the elbows around too much or they are too stiff or held out to the side, this can restrict the movement of the arms. The elbows should hang passively allowing the arms to move freely. Penelope’s “Dusting the keys” exercise involves (i) brushing your fingers from the centre to the end of the keyboard, opening out the elbow to give the range of motion, (ii) moving your fingers forwards and backwards in between the white and black keys, and then (iii) making circular motions with your fingers on the keyboard.
Again this exercise is demonstrated in this video:
Good Piano Fingering
When learning a new piece, it is important to fix the fingering early on so that your muscle memory can give you physical security in finding the notes. Since scales and arpeggios are often found within pieces, it is helpful to have a good knowledge and understanding of their fingering. For example, if you come across a passage containing scales in thirds, practising that scale in isolation could help you find the best place to cross over the third and fifth finger. Also, be aware of the phrasing since it indicates when might be best to breathe and reposition the hand.
5. Creating a Beautiful Sound
Having found freedom in the elbows and shoulders, you can let the weight of your arms do the work in creating the right pressure on the keys. Any excessive pressure produces a tight sound. You can control the quality of a note by allowing the hand to fall with gravity at different speeds. It is always best to move with as little effort as possible.
Another important factor in creating a beautiful sound is your ability to listen attentively to what you are playing. Be aware of the sound you are producing so that you can adjust your playing depending on what you can hear. A lack of attentive listening can lead to a rather detached sound. At times it may be helpful to close your eyes (if possible) while playing since this enhances your ability to listen to each note.
Happy Practising!


